Configuring Microsoft SQL Server to accept logs from syslog-ng OSE
This chapter explains how to configure an MSSQL Server to work with syslog-ng OSE.
Complete the following steps to configure your Microsoft SQL Server to enable remote logins and accept log messages from syslog-ng OSE.
-
Start the SQL Server Management Studio application. Select Start > Programs > Microsoft SQL Server 2005 > SQL Server Management Studio.
-
Create a new database.
-
Figure 5: Creating a new MSSQL database 1.
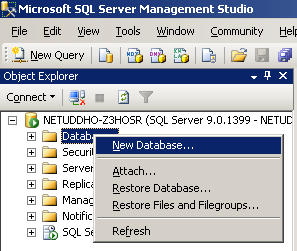
In the Object Explorer, right-click on the Databases entry and select New Database.
-
Figure 6: Creating a new MSSQL database 2.
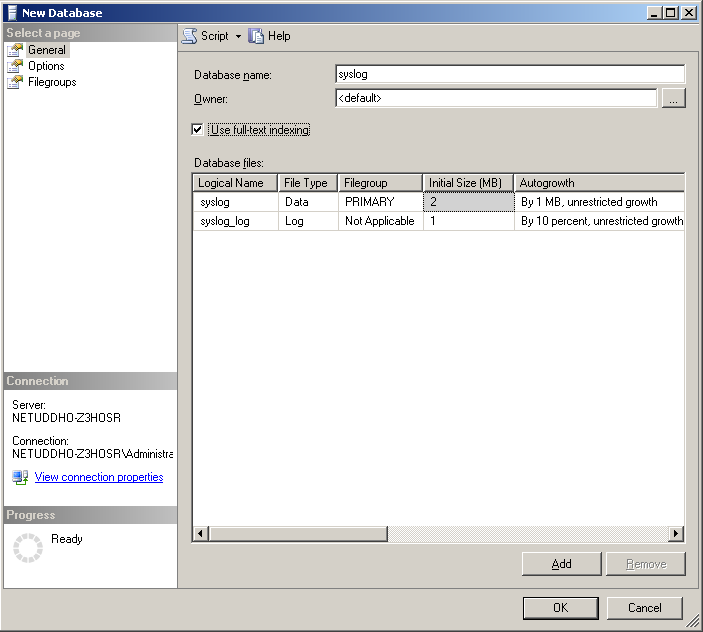
Enter the name of the new database (for example, syslogng) into the Database name field and click OK.
-
-
Create a new database user and associate it with the new database.
-
Figure 7: Creating a new MSSQL user 1.
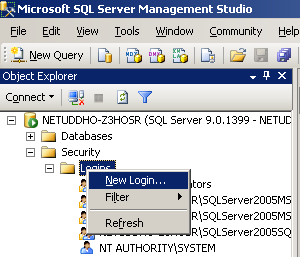
In the Object Explorer, select Security, right-click on the Logins entry, then select New Login.
-
Figure 8: Creating a new MSSQL user 2.
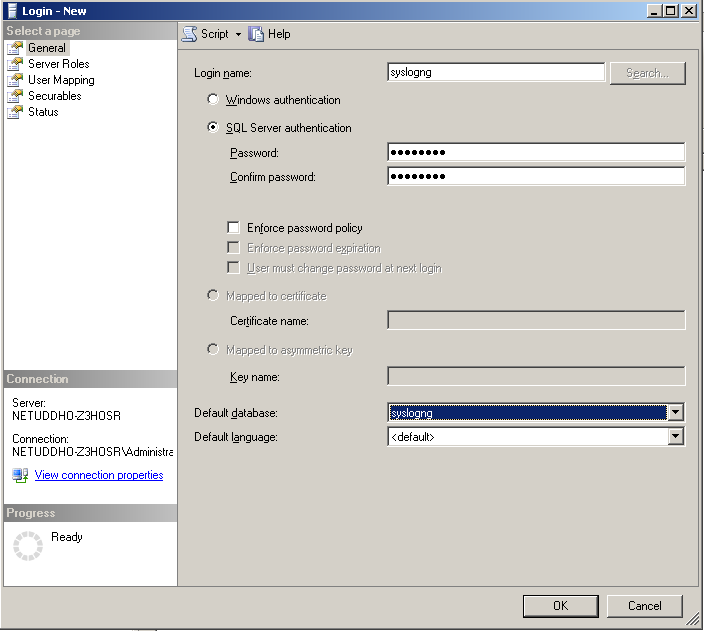
Enter a name (for example, syslog-ng) for the user into the Login name field.
-
Select the SQL Server Authentication option and enter a password for the user.
-
In the Default database field, select the database created in Step 2 (for example, syslogng).
-
In the Default language field, select the language of log messages that you want to store in the database, then click OK.
Incorrect language settings may result in the database converting the messages to a different character-encoding format. That way the log messages may become unreadable, causing information loss.
-
In the Object Explorer, select Security > Logins, then right-click on the new login created in the previous step, and select Properties.
-
Figure 9: Associating database with the new user
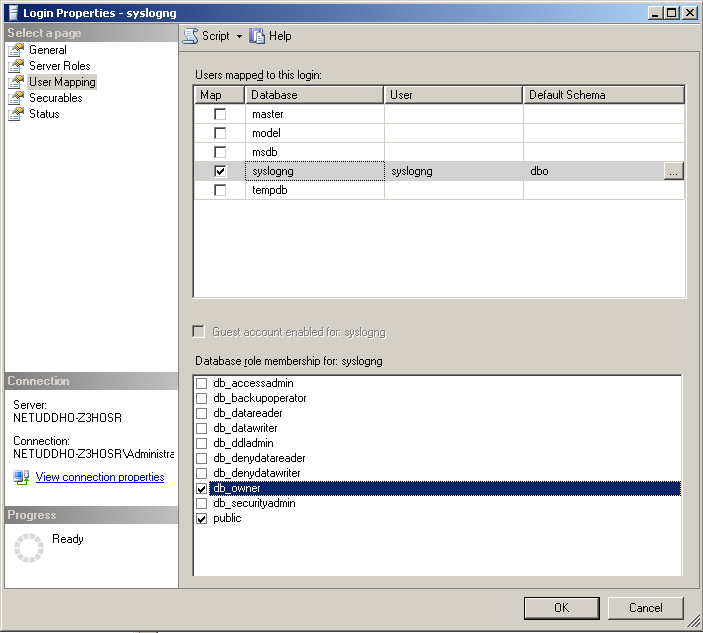
Select User Mapping. In the Users mapped to this login option, check the line corresponding to the new login (for example, syslogng). In the Database role membership field, check the db_owner and public options.
-
-
Figure 10: Associating database with the new user
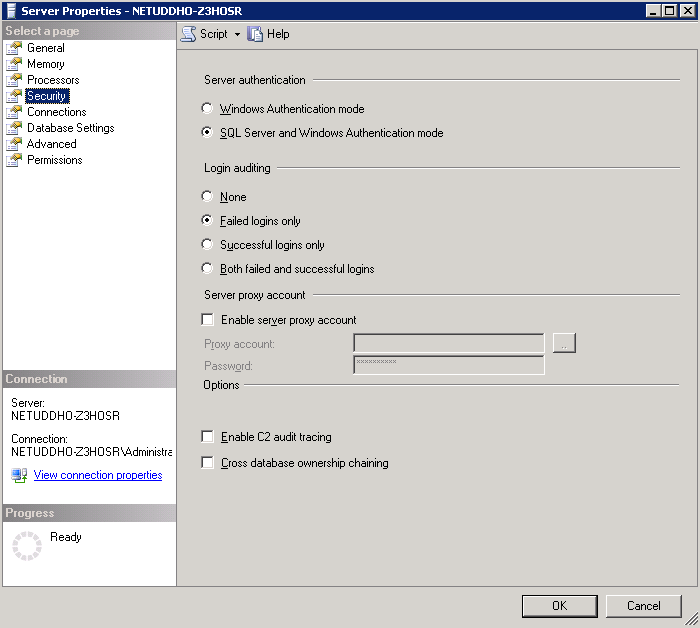
Enable remote logins for SQL users.
In the Object Explorer right-click on your database server, and select Properties > Security, and set the Server Authentication option to SQL Server and Windows Authentication mode.